
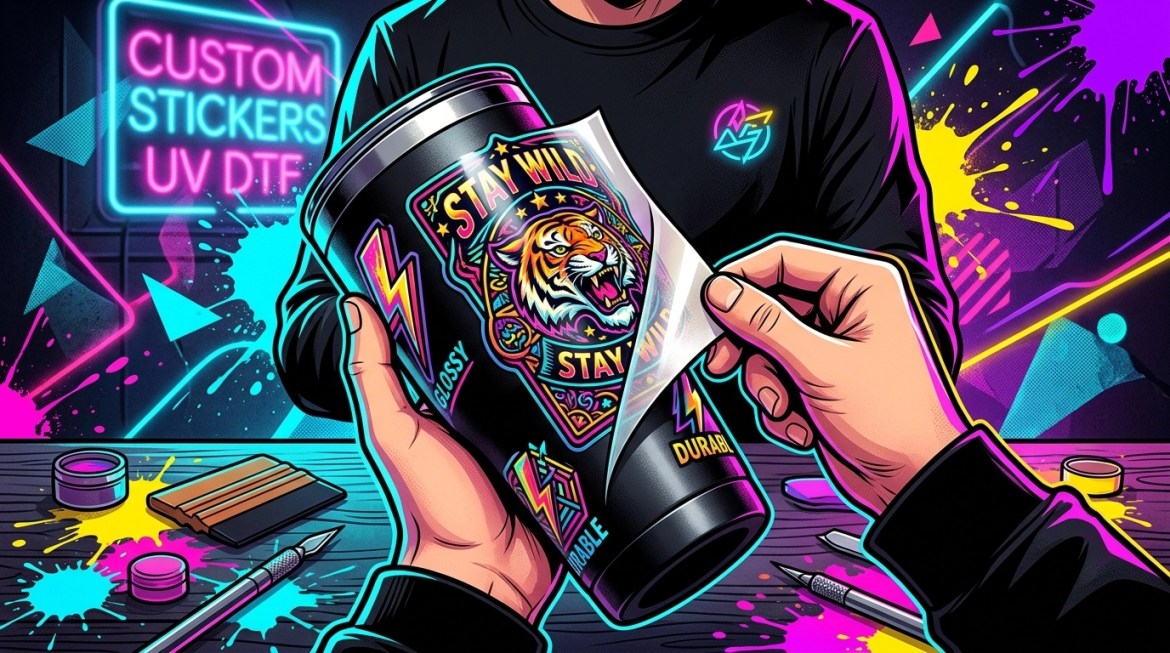
Are you ready to take your custom branding to the next level? If you’ve been looking for a way to add permanent, high-quality designs to hard surfaces without the hassle of weeding vinyl or the limitations of standard stickers, you’ve found it. UV DTF (Direct-to-Film) stickers are the game-changer you’ve been waiting for!
At Pixel Print Apparel, we’ve seen these stickers transform businesses overnight. Whether you are an Etsy seller customizing tumblers, a boutique owner branding your packaging, or a DIY crafter making gifts, UV DTF is the gold standard for durability and "wow" factor. But before you hit that "order" button, there are a few things you need to know to ensure your project turns out perfect.
Follow this guide to get it right the first time!
1. Build Your Gang Sheet Like a Pro
Why order one sticker when you can fill an entire sheet? Our UV DTF gang sheets come in various sizes, so you can maximize your budget and hit free shipping on prints over $50 in the contiguous US.
How to use our builder:
- Select Your Size: Choose the sheet length you need.
- Upload Your Art: Drag and drop your designs into the builder.
- Arrange and Duplicate: Fill the sheet efficiently to get more value from every order.
- Submit: Once everything looks right, place your order.
The built-in DPI Quality Checker helps you catch quality issues before you submit:
- Green Border: Your image is high-resolution (300+ DPI) and will look amazing.
- Yellow Border: Your image is usable, but may lose some sharpness.
- Red or Black Border: Stop! Your image is too low-resolution and may print blurry or pixelated.
Use these pro tips as you design:
- Build with intention: Start with your final product in mind so you can size designs correctly for cups, glass cans, tumblers, packaging, and other hard surfaces.
- Upload high-resolution art: Stick with crisp files whenever possible so the builder shows that green border instead of yellow or red.
- Keep spacing clean: Leave enough room between designs so trimming and application stay easy.
- Duplicate smart: Repeat best-sellers across the sheet to save money and get more usable transfers per order.
- Check every image: Review each file before submitting so you catch low-quality graphics, odd backgrounds, or sizing issues early.
These resources are especially helpful for DIY crafters, Etsy sellers, and small business owners who want a polished result without wasting time or materials.

2. Preparation: Do This First
Before you apply anything, clean the surface first with alcohol. That step does the heavy lifting for a clean application and a strong final result.
Start with the surface:
- Wipe it down: Use 90% isopropyl alcohol and a lint-free cloth to remove dust, oil, and residue.
- Let it dry: Give the surface at least a minute to air dry completely.
- Keep hands off: Avoid touching the cleaned area after prep so you don’t transfer oils back onto it.

3. Apply It: Peel, Place, Rub, Peel
Once your order arrives, application is quick and beginner-friendly. And if you order by 2PM CST, we process your prints the same day to help you keep projects moving.
- Peel the Backing: Remove the white backing paper and make sure the design stays on the clear carrier sheet.
- Place It Carefully: Set the transfer onto your cleaned surface. Once it sticks, it’s not meant to be repositioned.
- Rub Firmly: Use a squeegee or credit card to press from the center outward and remove air bubbles.
- Peel the Carrier: Slowly lift the clear carrier sheet to reveal the finished design. The result is a vibrant, raised, high-gloss look that feels clean and professional.

4. Why Choose Pixel Print Apparel?
We know you have choices when it comes to printing, but we’ve built our service to be fast, reliable, and easy to use.
- Fast Turnaround: Order by 2PM CST for same-day print processing.
- Local Convenience: If you’re in College Station, TX, we offer a 2-hour local turnaround option and free local lockbox pickup.
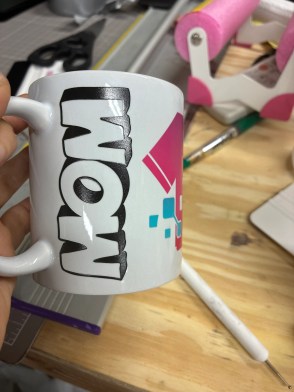
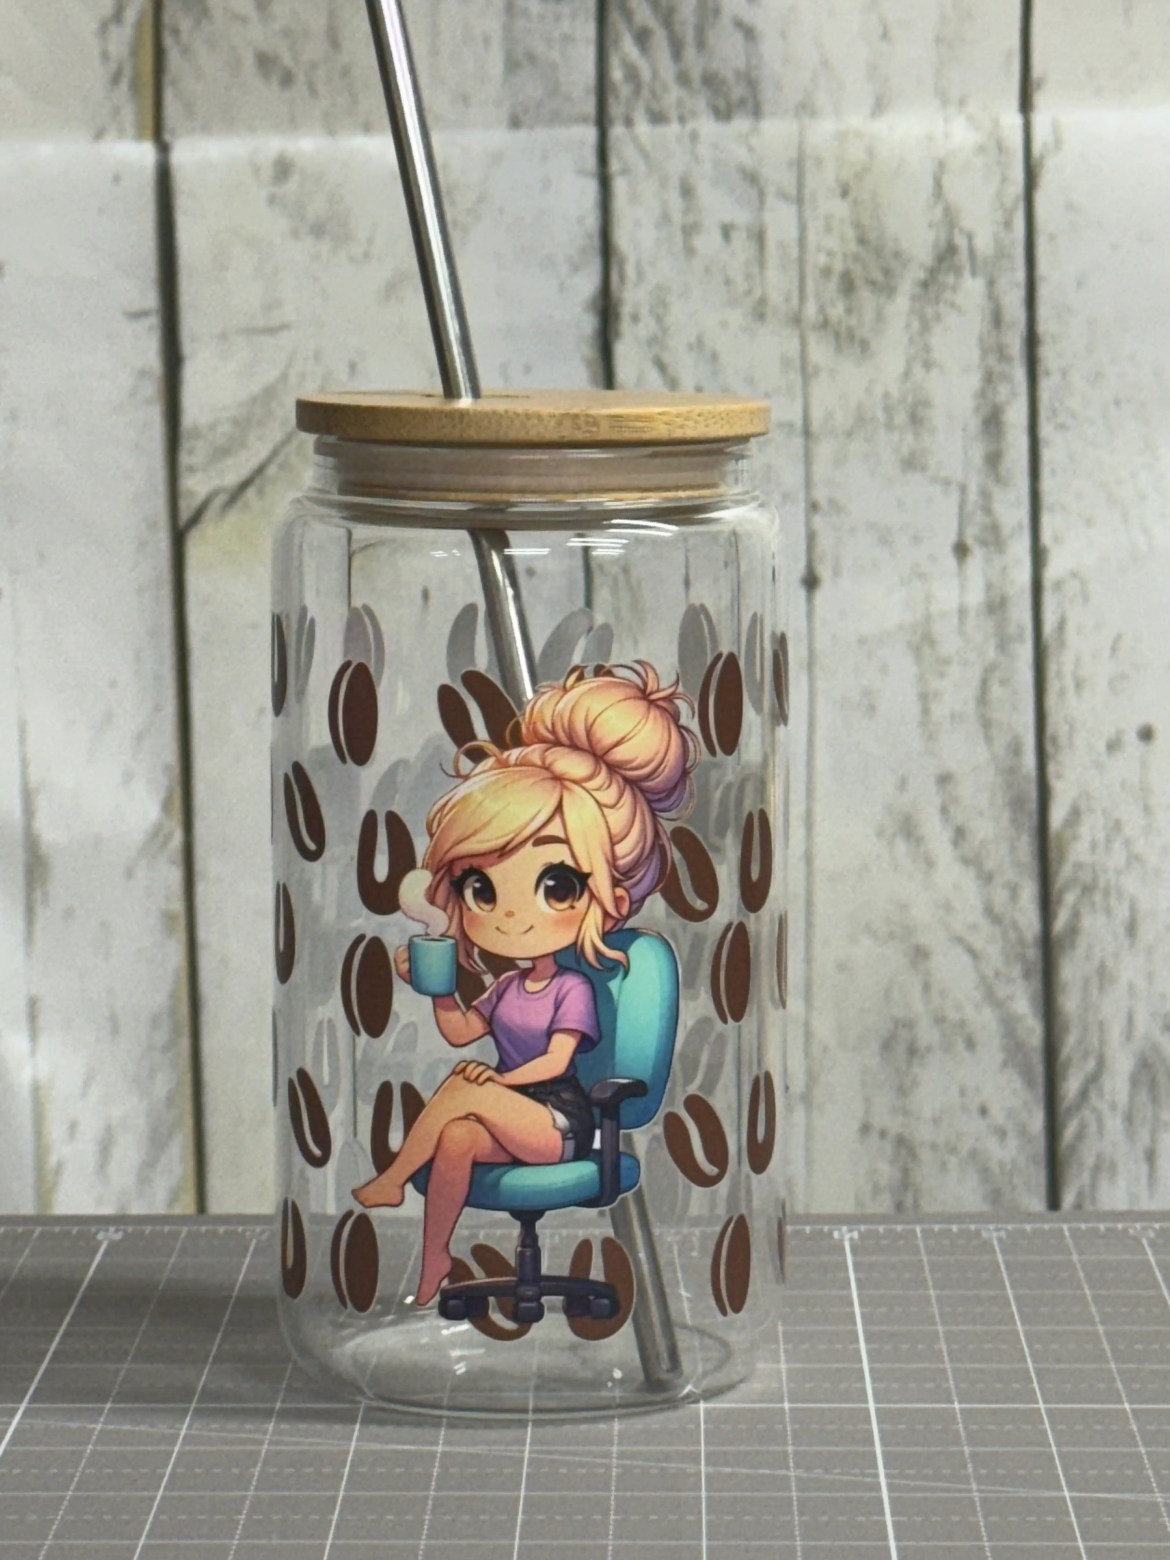
- Durability You Can Trust: Our stickers are water-resistant and permanent, built for daily use on smooth hard surfaces.
- No Hidden Guesswork: Clear pricing, high-quality prints, and a builder with a built-in DPI checker to help you get it right the first time.
5. Watch and Learn: Step-by-Step Video Tutorials
Need a quick visual before you apply or order? This video makes it easy to follow along and get confident fast.
- Watch the UV DTF application video to see the peel, place, rub, and peel process in action.
6. Common Mistakes to Avoid
We want your first experience to be a total win. Avoid these common pitfalls:
- Skipping surface prep: Dust, oils, and residue can weaken the bond. Always clean with alcohol first.
- Position the Sticker Correctly: These stickers are meant to be permanent! Make sure you align them correctly before application.
- Applying to silicone or textured items: UV DTF works best on smooth, hard surfaces.
- Rushing the rub: If you don’t apply enough pressure, edges may lift when you peel the carrier sheet.
- Ignoring a red border: If the builder flags your file as low resolution, swap in a better version so your final print looks professional.
Get Started Today!
Ready to see the difference for yourself? Whether you’re looking for custom apparel printing or these incredible UV DTF stickers, we are here to help you create something amazing.
Build your first UV DTF gang sheet today and see why our customers love our "peel like butter" quality and lightning-fast shipping.
Build My UV DTF Gang Sheet Now!
Need More Help?
If you have questions about file types, surface compatibility, or your order status, don't hesitate to reach out. We’re your helpful experts in the printing world, and we can’t wait to see what you create!
